Showing posts with label Sewing And Quilts. Show all posts

Friday, December 14, 2007

Little Bit Of This, Little Bit Of That

Little bit of bakin'


Little bit of stitchin'


Little bit of relaxin'


I was a bit mystified when I was reading outside (on the new lounge chair - very comfy!) - I kept seeing these lovely little rainbows dancing across the pages. And if you're curious, the book is "The Machiavelli Covenant" by Allan Folsom, and it's good!


I finally figured out they were coming from the sun shining on the diamantes on my t-shirt. Nature is very cool don't you think.

Friday, August 03, 2007

"Kicking Up The Leaves"

"Kicking Up The Leaves" is the name of the quilt I made for my mum this week. And because I really wanted it finished in time for her to take into hospital, it was made in a mega-sewing 4 day marathon.
I used a pattern in a book called Spectacular Scraps, the one on the cover in fact. It's a quilt that made up entirely of half square triangle units. Meshell very kindly offered to help so we set to work.

First step was to choose two fabric groups of different values and cut them up into 4 inch squares. The two groups we chose were the light group of greens/tans/mustards, and the dark group of oranges/terracottas/burgundys/browns - basically the autumn colours that mum loves. We used fabrics from our stashes that we felt had significance or meaning.

Then I started on the 320 half square triangle units needed. To me there is nothing worse than sewing along the edge of a triangle... the fabric stretches and warps and it's a pain in the bum. So instead I used this method - take a square of light and dark fabric, put them right sides together, and rule a diagonal line on the back of one of them.

Then sew a 1/4 inch seam on either side of the ruled line.

Then cut along the ruled line.

Then unfold each side and iron the seams (thanks for ironing them Meshell!) Ta-dum - 2 half square triangle units!

Then, following the pattern, position all the pieces the correct way round and magically a pattern appears! At that point I started sewing the squares into rows.

Quilt top finished - do I look pleased or what!

Next step is to make the quilt sandwich. I used cotton batting and this gorgeous backing fabric. Isn't it pretty, and it's really soft and smooth... very strokable.

I did fairly simple machine quilting as I didn't have much time, so I just quilted around the diamond shapes.

Then I made the binding which I machine stitched to the front of the quilt and that darling Meshell hand sewed it to the back of the quilt while I was at work - there was a deadline looming!
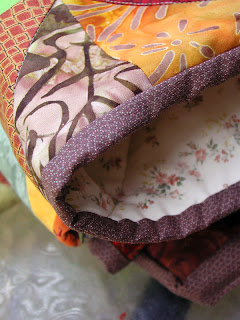

And here is the finished article, folded and fooffed up pretty with a ribbon. Mum was a bit stunned! And she loved it, and wore it wrapped round herself for ages. And kept coming and asking about the different fabrics. And it was all good. Love ya Mum!

Monday, July 09, 2007

Take a Stitch Tuesday - Bullion Stitch


I've been waiting for this impatiently - I LURVE bullion stitch! Thank you Sharon for including it in TAST. It's so cool the way it winds itself around haphazardly if you use lots of twists around the needle. And inspiration came quickly this week after the postman arrived with polymer clay face moulds that I ordered last week.

I had been visiting Jo's Blog and was so taken with the fimo faces she'd made that I just had to interrogate her for more info! These particular moulds are from a series by Maureen Carlson and I bought my moulds from ZigZag in New Zealand.

Anyway, I had a wee play with the fimo and made a couple of faces, and then when bullion stitch came along, it just had to be that it was wild Medusa-like hair. I know Medusa looks menacing whereas mine is asleep but you get the idea. :-)


I also finally got around to making a quick pot holder for the oven. My existing one has been hanging in shreds for some time so this one will come in very handy. There was a rather creepy moment though - the very day I make a new pot holder the oven door falls off. I kid you not! It really did! And the only thing that stopped the oven door from smashing to smithereens on my foot was that I had hold of the pot holder that I had hooked around the oven door handle which took some of the weight of the door as it fell! Luckily I have a kind and handy husband who managed to put the door back on for me, so we don't have to go out and spend a small fortune on a new oven. I still thinks it's creepy....


I spend most of yesterday spinning the next skein of fleece for Steve's jumper, which is underway! I have "Spinners Knee" today, hobbling a bit - what comes of treadling like a mad woman for too many hours! :-) You put up with these craft related injuries though don't you, different if it had been because of scrubbing the floor - a LOT more fuss would have been made...

Sunday, February 25, 2007

Wavy Fabric Strip Weaving - Thanks Cramzy!

I was cruising Cramzy's Blog a while back and came across THIS little tutorial. Isn't this just the most amazing idea - fabric weaving with wiggles! I had a go myself the other day, and this is the result.


I used variegated thread for the satin stitch edging, and I'm not sure what I think of it, the fact that it's chunks of colour rather than random variation. Oddly enough, I turned the piece over and I think I like the back better, I used plain thread for that. What do you think?


I think this is such a cool idea to play with, and oddly enough I had this sudden desire to add The Cheshire Cat! He's only there in the photo, courtesy of a bit of a play in Photoshop after borrowing an image from Disney.com. He kinda fits right in doesn't he. :-)


Saturday, January 27, 2007

Old Jeans' New Identity

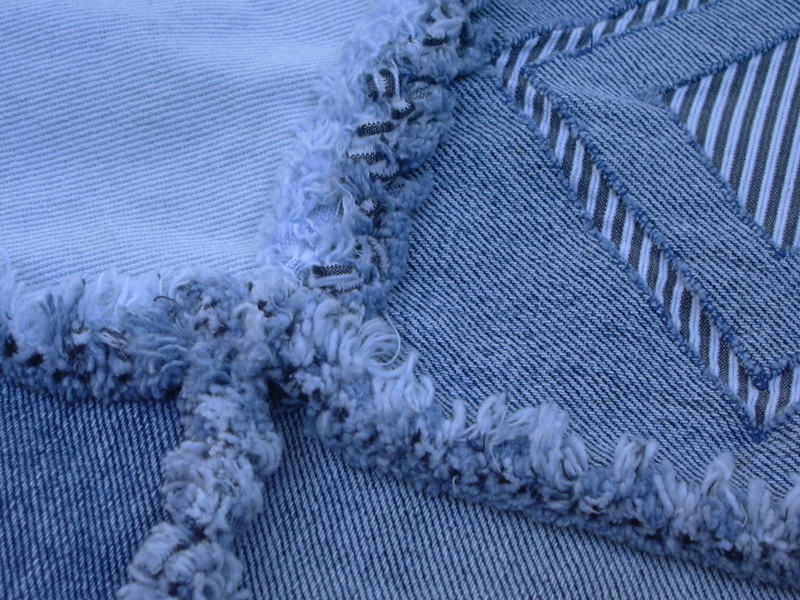
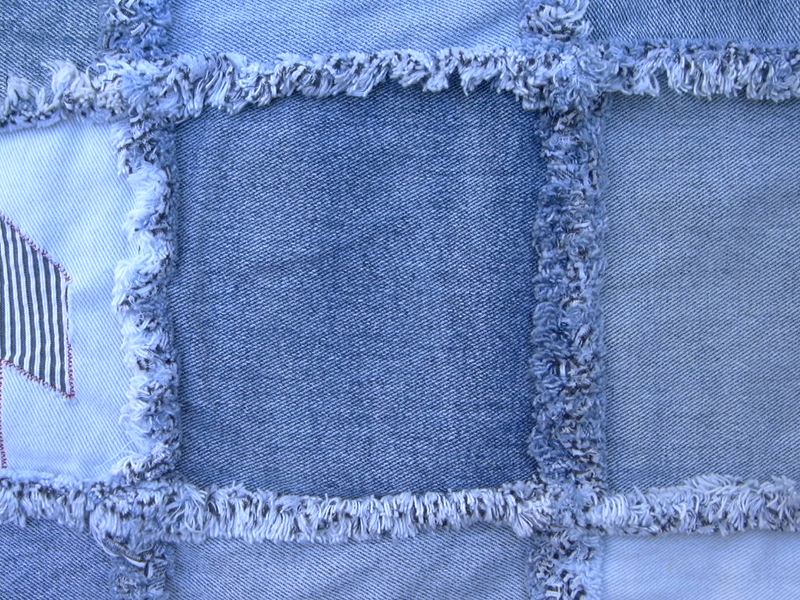
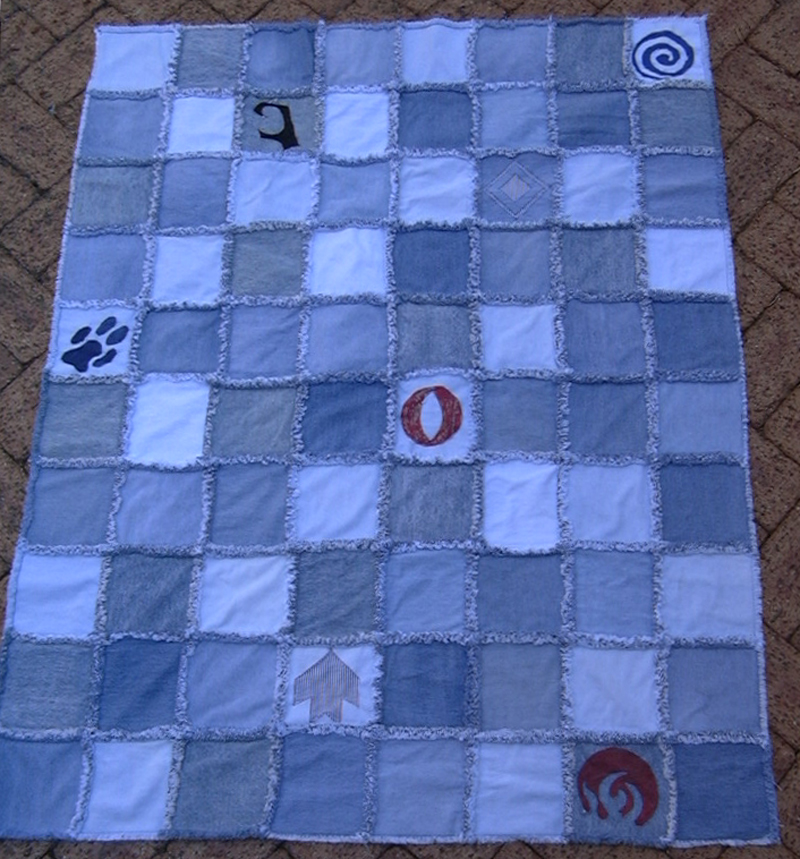
I've been having a clean out, and I found 7 pairs of old jeans to chuck out (fat jeans!!). But instead of popping them in the St Vinnies bin I decided to have a go at making a small raggy quilt. Raggy being when you keep the seams outwards, then clip them every 1/4 inch, then wash it and then bung it in the dryer to make the clipped seams go all sort of fluffy and raggy.


The icons on the quilt are loosely taken from spell icons from an online game called World Of Warcraft. It's what my son loves to play, and as the quilt is for him I had the urge to jazz it up just a touch. It's ended up being a lap quilt, I was going to make it bigger, but have you any idea how heavy a denim quilt is!! It has no wadding, it's just backed with a striped cotton fabric and it is HEAVY. Still, I quite like it, and I think denim is a good boy quilt.


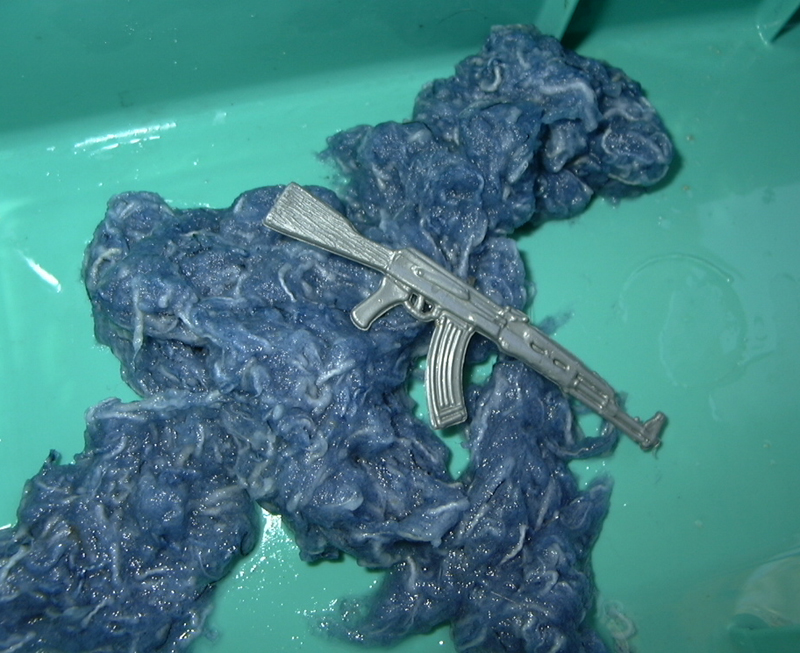
Boy you have to keep an eye on things when you wash it though. I wandered into the laundry to find the washing machine having a nervous breakdown, fifty trillion little tiny denim threads had blocked the plughole of the laundry trough and were stopping the washing machine from emptying. Supervision was necessary, I had to keep hauling out handfuls of threads from the trough each time the machine did a spin. Then the washing machine spat the dummy completely and refused to function. At that point I had to don my repairlady hat and empty the filter down in the bowels of the machine. It was chockerblock full of threads, and one other strange and mysterious item....


Hmm. Considering there are only grown-ups (well, sort of) in this house, I'm not sure where a gun the size of a matchbox has appeared from. Perhaps we have commando house pixies...

Anyway, with the washing machine de-linted and de-gunned, I popped the quilt into the dryer where it is recommended that you empty the lint filter every twenty minutes. Actually I found that there was very little in the dryer filter, it appears my washing machine did a very good job of sucking all the loose threads from the quilt.

And on a different note, look what my darling husband whipped up tonight...
TWO apple and rhubarb pies! mmmmmm
Steve is a brilliant pastry maker whereas I am crap. So he wears the official pastry chef hat in this house, and I make the custard.

Tuesday, January 16, 2007

Cosmic Corridors Quilt

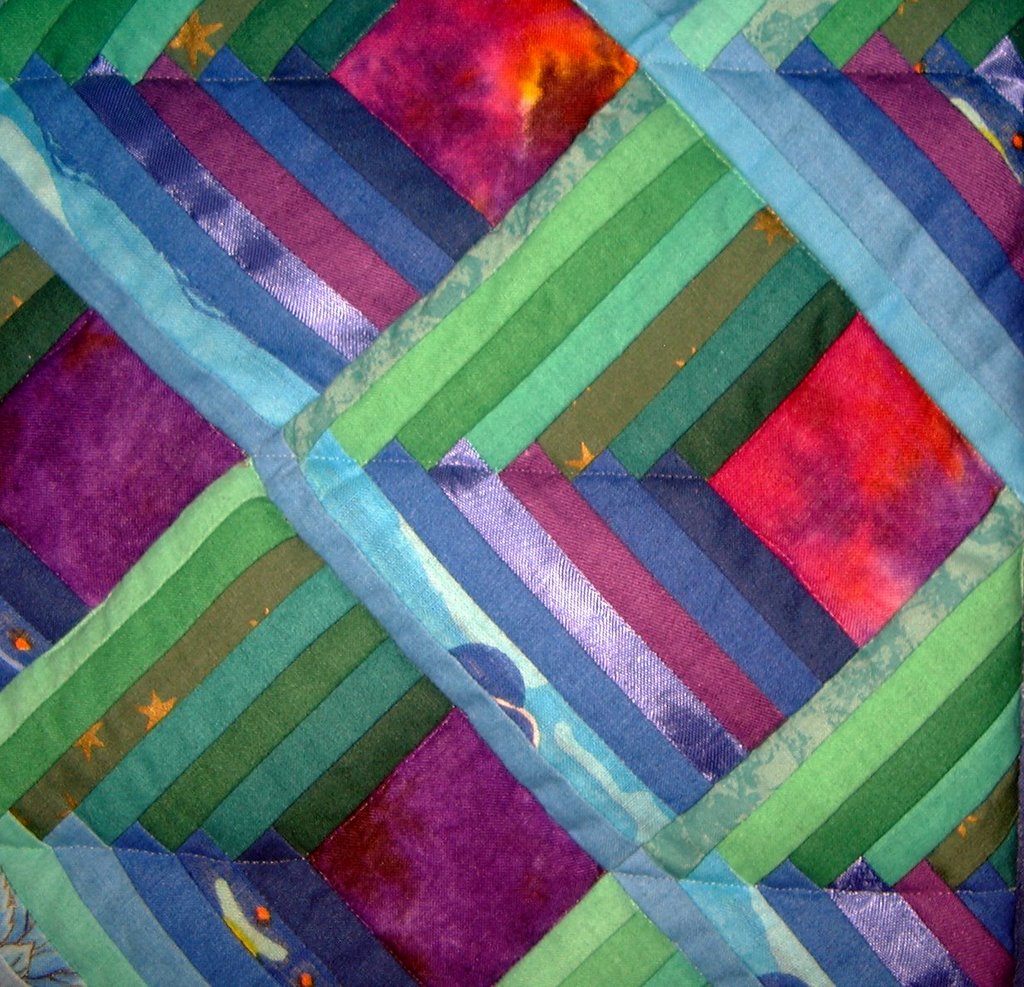
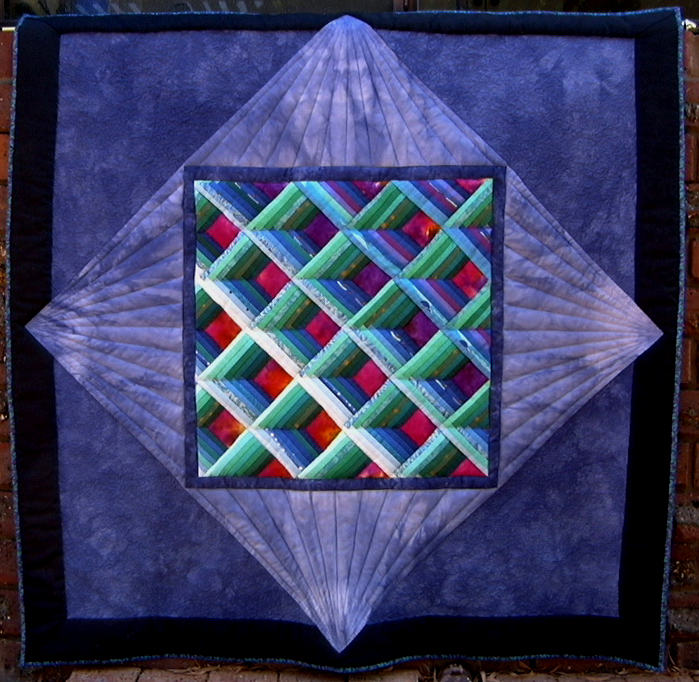
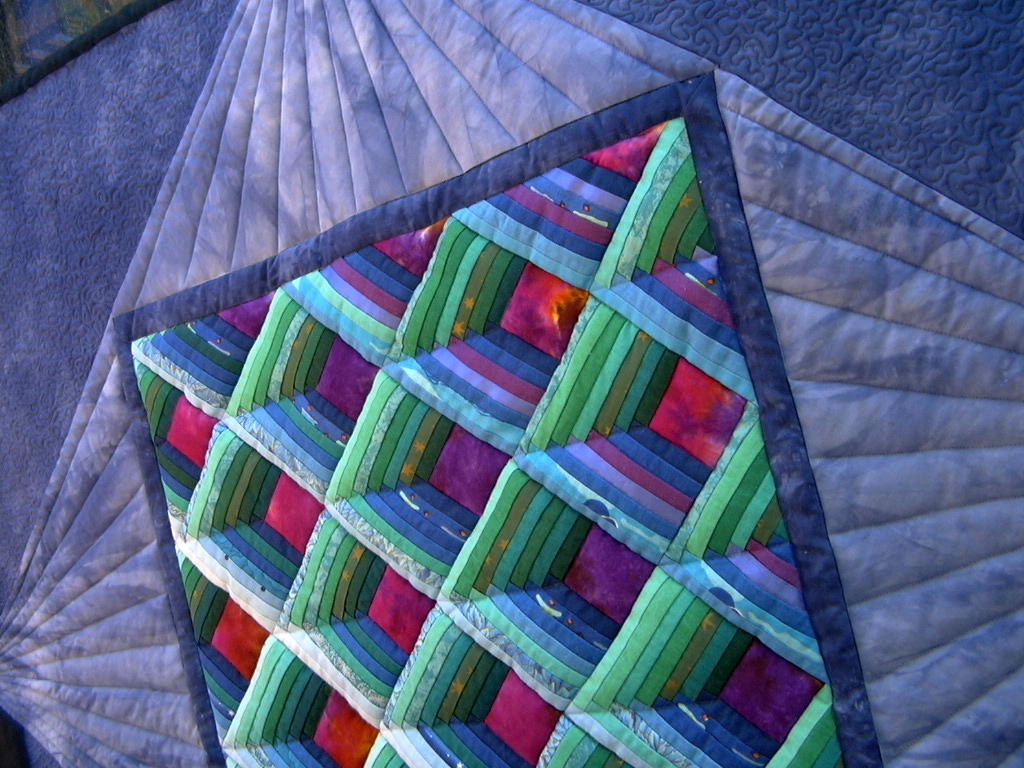
I posted this photo a while back, and it's on my Flickr account. It's the middle of one of my first quilts, made about ten years ago.


A few people have asked to see a photo of the whole quilt so here it. I find that it doesn't photograph all that well as a whole quilt, the colours and contrast never seem right, this is the best of a heap of photos I took this morning.


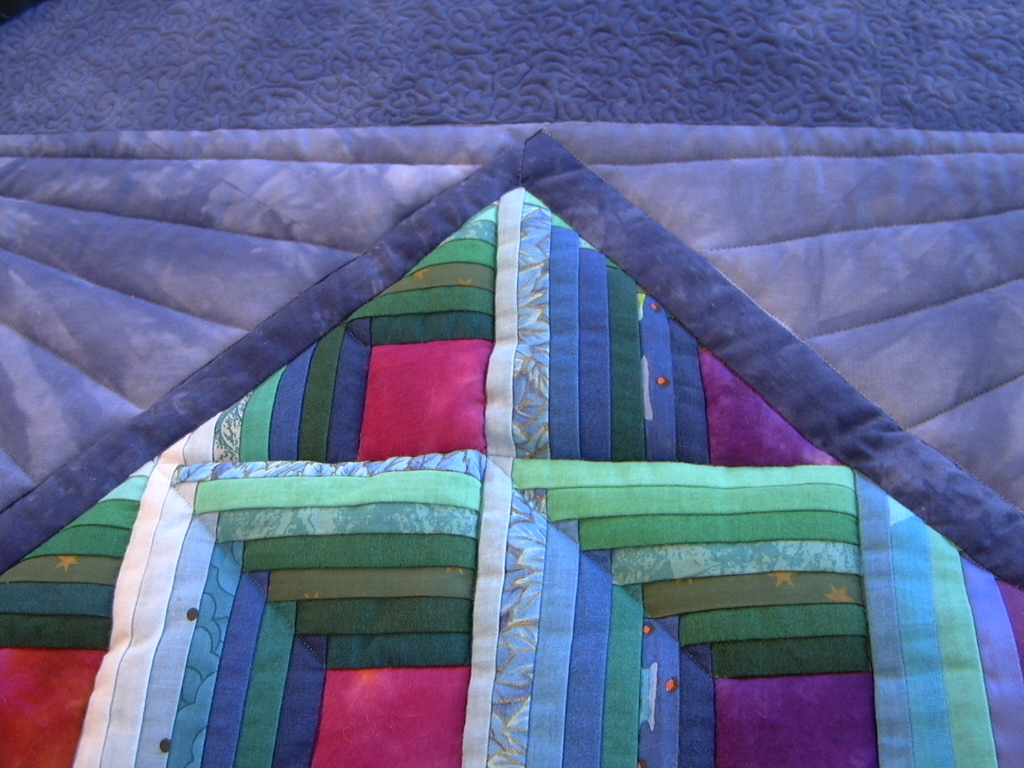
It's approximately 1.2 metres square. In the centre section are log cabin blocks that I drew up on thin muslin and then sewed directly onto that in the foundation piecing method. I like the way these log cabin blocks start from the corner as opposed to the centre which is the normal method. There are twenty four 4 1/2 inch log cabin blocks - lots and lots of stitch and flip in that lot, each strip is just over 1/4 inch finished width! Because they are turned on point, I had to trim off half of each of the edge blocks - that was agony! I've still got the 12 scrap triangles from around the edge tucked away in a drawer, I couldn't bear to part with them!

That was going to be the end of things, just binding and finished, but I was a bit miffed that something that had been such a lot of work ended up so darn small. It has to be bigger and more magnificent!! :-) So, first off a small dark border. Then I figured on trying the 'square in the square' approach. I'd just learned how to hand dye fabric and I had a batch of indigo blue fabric just waiting to be used for something nice. I thought it matched pretty well colour-wise, and I hunted through the random patterning of the hand dyes to find the lightest parts for the inner square, and the darker sections for the outer square. Finally a black outer border.


Then I machine quilted it. I quilted straight lines across the joins of the log cabin strips, to make them look more 3D. Then I quilted rays from the tips of the inner square back towards the central section. Then finally I stipple quilted the other square section. The black border is not quilted at all, the only stitching in the black is where I appliqued down the ends of the points of the inner square. Now I look back, that was quite an adventurous move for a beginner patchworker!

I love the colours in this quilt, and I called it Cosmic Corridors as it seems to me to be, well, sort of cosmic. :-) It hangs on my loungeroom wall.

Right, well that's three huge blogposts for today, can you tell it's my day off?

Tuesday, December 19, 2006

Stitching For The Tipsy Girls

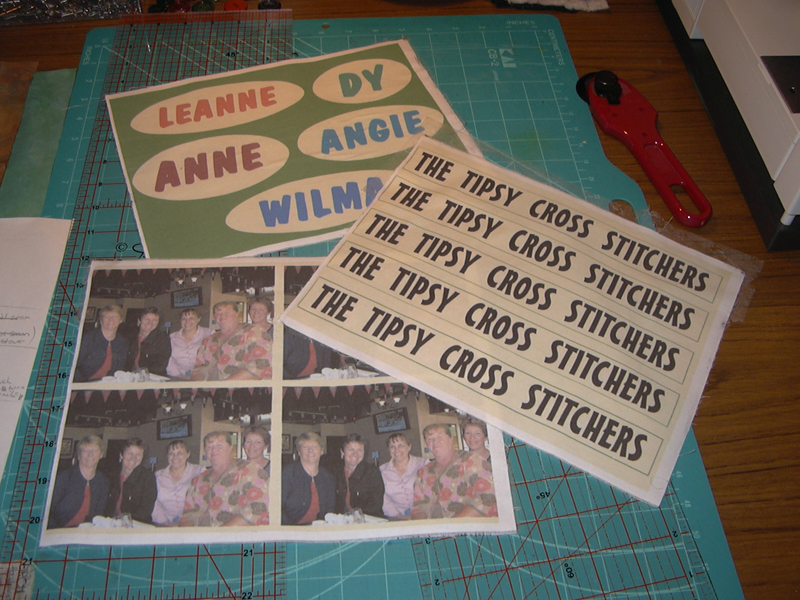
I've talked before about our cross stitch group of five, we meet every Monday afternoon. From reference to the number of celebratory bottles of champagne we quoff every time a cross stitch piece is completed, the title The Tipsy Cross Stitchers has been born.

Every Christmas we go out to lunch (well, we go out to lunch every couple of months to be honest) and we give each other a small present. We are treated to delectable home made goodies such as rumballs, shortbread and rocky road, plus macadamia nuts straight off the tree and other treats such as nougat and little xmas plates. I used to give home made apricot jam, but since our apricot tree decided it was no longer going to be a prolific fruiter, jam has been off the gift list. So, what to give?

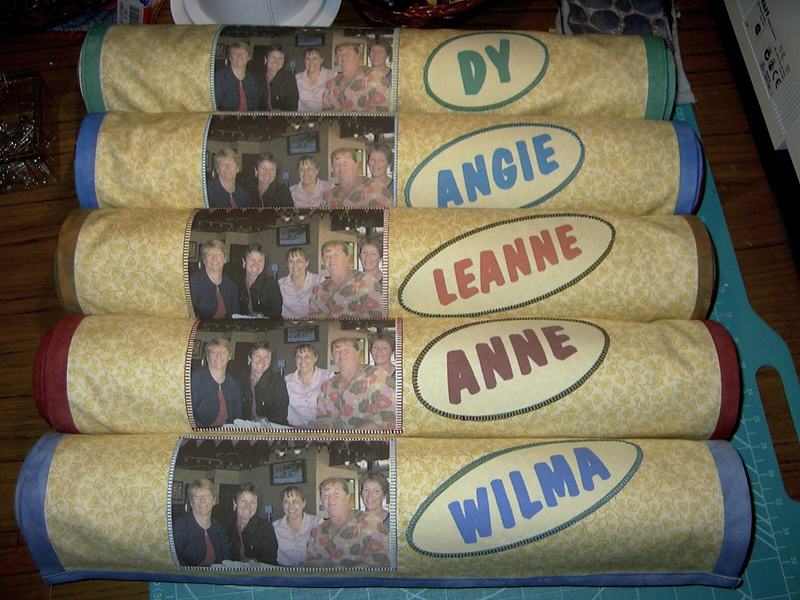
Back when I made a roll to store my cross stitch in a few months ago, Anne started jokingly saying that I should make everybody one for Xmas. Hmm. Hmmmmmmm, I thought, that's not a bad idea! So, I've been pondering this for a while, how to make them, what fabric to use and so on. I knew I needed to make them longer than my existing one as it only holds a medium size piece of aida cloth, so if they were a lot longer then I shouldn't put wadding in it because it would end up fat and enormous.

I was struggling with how to make these rolls look, when one night I had an epiphany which stretched into a big think for a couple of days. I decided to make them almost like a club item, using a photo of us all, and the title "The Tipsy Cross Stitchers". I had a pack of 5 sheets of photo transfer paper in the cupboard, so I got to work on the computer and made up 3 image sheets containing what I needed.

Next was lots of thinking to work out measurements. A nice glass (or two) of chenin blanc assisted. :-)


Although I was using the same fabric for everyone, I decided to give each lady her own colour scheme for the edging, her name and the closure buttons.

I ironed Vliesofix onto all the photo transfer sheets then cut out and fused it to the fabric. Then I machine stitched around the edges to hold it all in place.

I bought 5 mailing tubes from the post office and glued on thin wadding to pad them a bit and make the fabric sit a bit more snugly. Then I folded the fabric in half and stitched a seam just over 4 inches down, which gave me the right size sleeve of fabric to slide over the cardboard tube. Then I ran a seam up each side and stitched a big cross right the way across to hold both layers of fabric together nicely. Finally I added a binding across the bottom, trapping a couple of loops of elastic which looped over 2 buttons to hold the roll closed.

Da dum! Here they are.
Sunday, December 17, 2006

Happy Happy Joy Joy


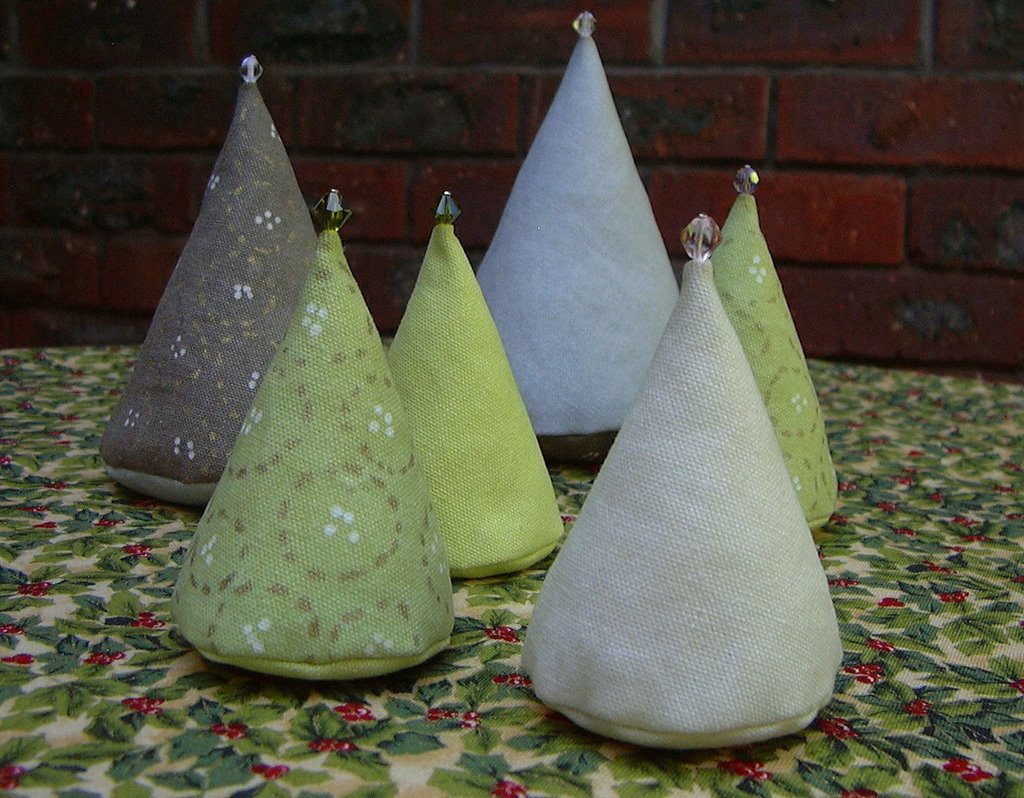
I've had a lovely day, it involved sewing for a few hours then photographing the result. Have you seen these soft trees that are all the rage on some craft Blogs (well, on the ones I frequent anyway!) at the moment? The instructions are to be found on this fabulous blog . There is also a Flickr group here where people can post photos of their creations.

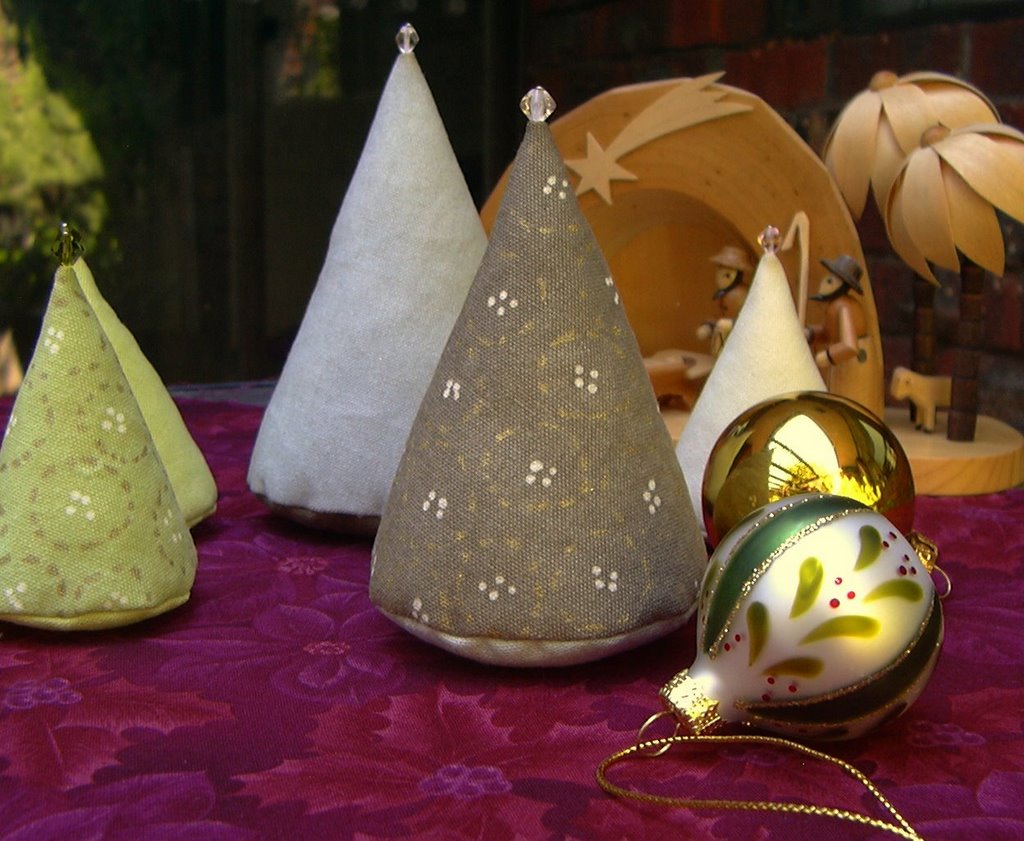
Anyway, these are my Soft Xmas Trees. I found a big booklet of upholstery samples at the back of my fabric stash, and thought they'd look nice as soft trees. I'm so happy with them, I don't know what it is about soft trees that I like so much, but I do. The symbolic concept of them just does it for me I think. The hardest thing about making them was to keep myself under control and not over-adorn them. I noticed that the photos of other people's soft trees that attracted me the most were the simplest ones, so I tried to stick with that myself.


After experimenting with strings of tiny plastic pearls, buttons, beads and trim, I finally decided upon a single crystal thingy pinned into the top of each tree - heck, what are they called again.... swarti something.... I'll go Google, hang on...
Swarovski crystal beads, that's what they are. I nicked them out of Meshell's button and bead box. It's ok, I confessed and she said that was fine. :-) Speaking of Meshell, she has also made some very nice, festive soft xmas trees and hers are here.

Because I made very small trees, I did change the way I made them after the first one. The instructions say to sew the cone side seam first and then sew on the circular base. I found it easier the sew the circle to the bottom edge of the open cone section first, then sew the side seam up, doing a bit at the bottom and a bit at the top, so the hole for turning inside out and for stuffing is about halfway down the cone. It made it a lot easier to pour the rice in the bottom too, as it can't fall out - unless you are silly like me and tip the still open tree upside down. :-)

All in all, a very pleasant way to spend the day.

Sunday, December 03, 2006

Tra La La La - La La La La

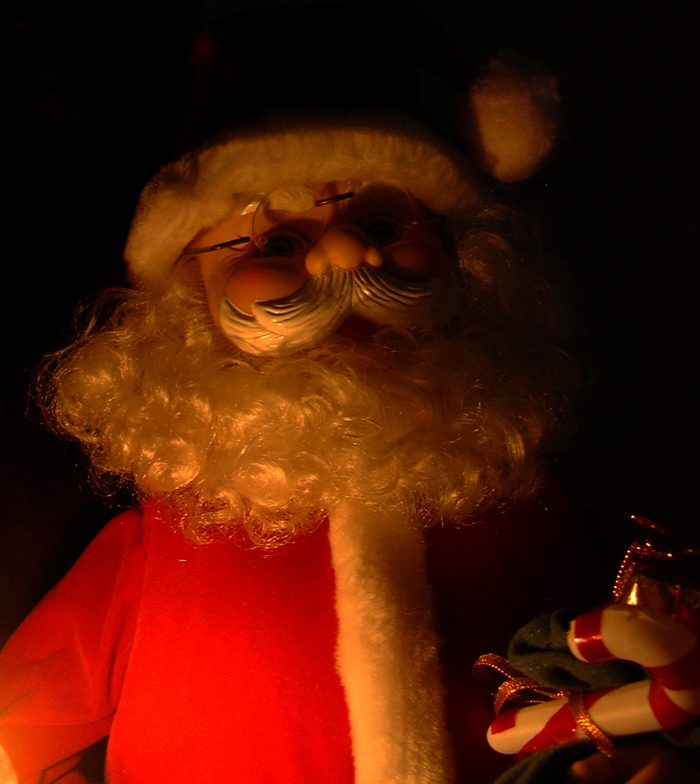
Well, it's done. The tree is up, the deckies are out and all the hand made Xmas things from over the years get to be fondled and reminisced over once again. Meshell and I have patted ourselves on the back for doing all the work while the boys slobbed on the settees and watched. Actually, to be fair, Steve brought the tree in and I made Paul fix any dead globes in the tree lights so I suppose they did help, a tiny bit. Meshell has put together and been given some fab new Xmas mix CDs which were lovely to listen to as we bedecked, so nice to have a change from The Chipmunks singing Xmas songs as that was the only Xmas CD we have ever owned. Tragic eh.


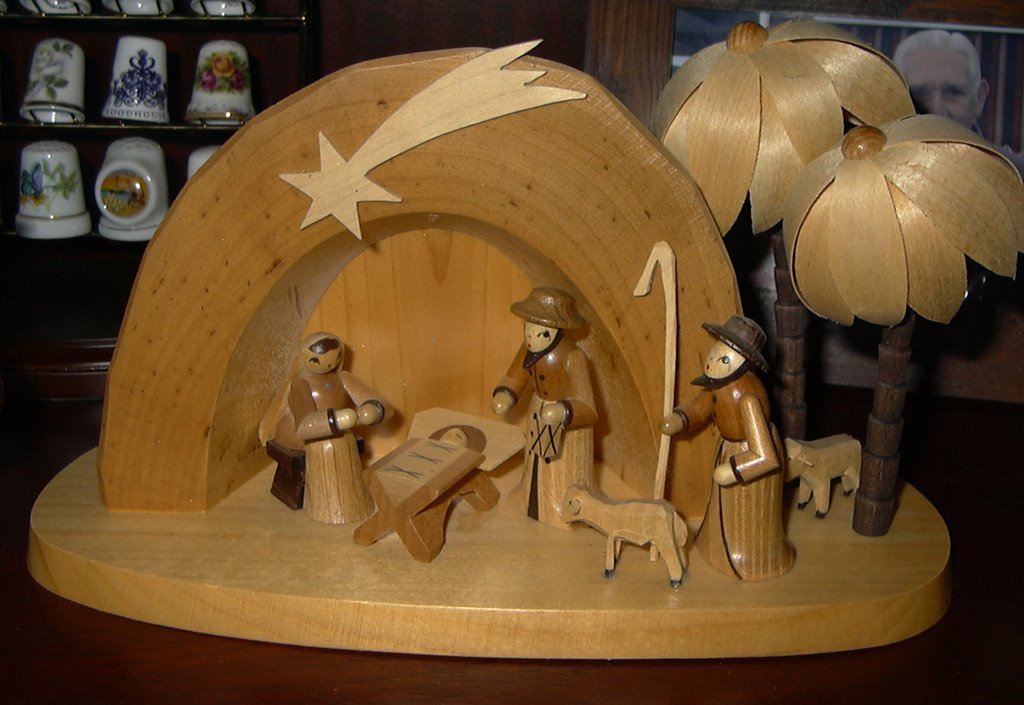
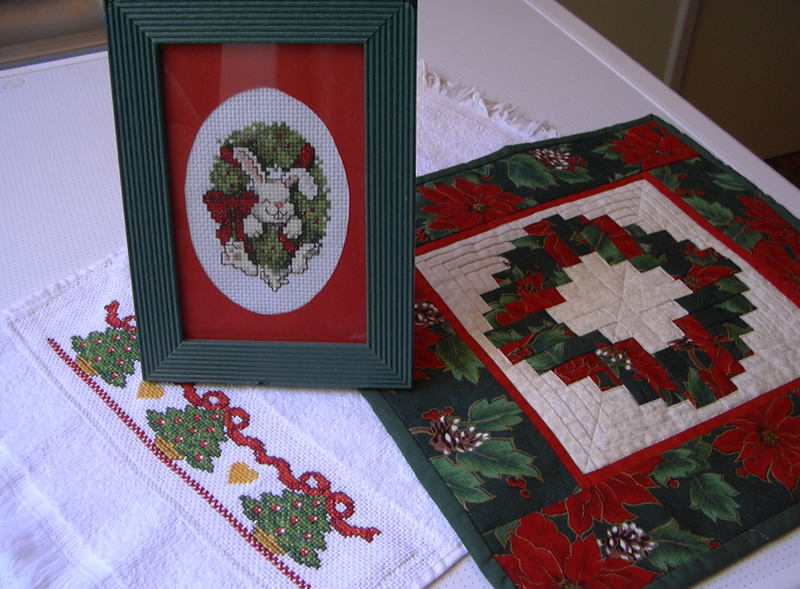
Here we have the Nativity scene. Mum gave it to me as a present, she brought it back from holiday from I've forgotten where. I like the fact that it is a bit different. And on the right are some things I made a quite a few years ago. I had to touch up the top corners of the green frame with a marker pen as it appears to have pussy cat teeth marks in it. Asta!


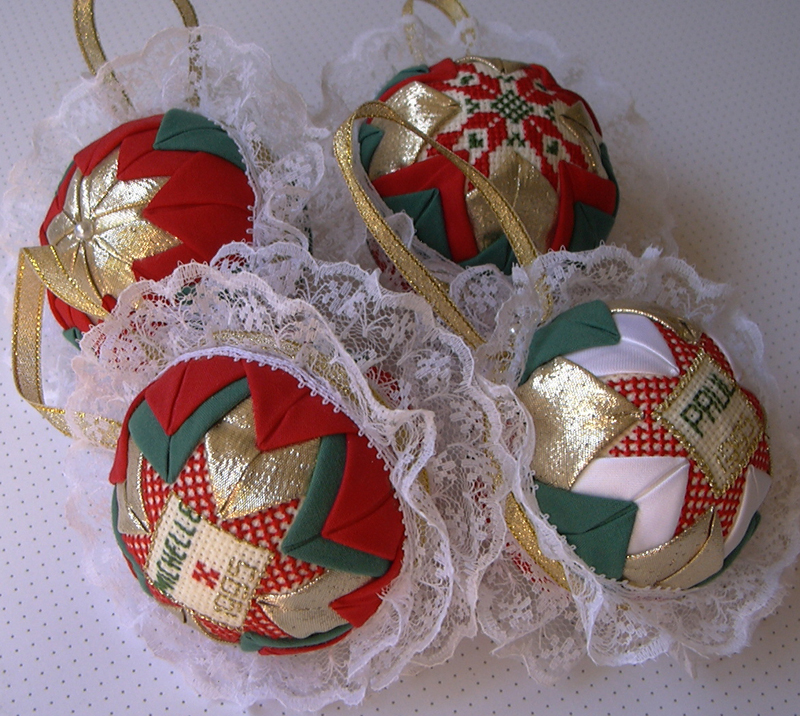
A collection of Xmas balls I made about ten years ago. Ones I've made since then and given away don't have lace around them. I use a gold rope trim nowadays which I like better. I'm gobsmacked how long ago I made these actually, where have the years gone? And my Xmas quilt made from a block swap.

And there is the devil cat herself, who has been sauntering around the lounge room, just taking it all in. Plotting her evil deeds. Which decoration to kill first?


The Advent Calendar, which I made about 4 years ago. I'm in a bit of trouble about this cos I forgot to put it up before the start of the month. And more importantly, I forgot to buy lollies for it! I'm a bad mother. So, here it sits, forlorn and empty, until I hit the lolly shop tomorrow.


Pleeeeeease can someone take us for a walk?
We are soooooooo bored, everyone is ignoring us with all this Xmas business. Pay us some attention or we might have to resort to peeing on the tree....