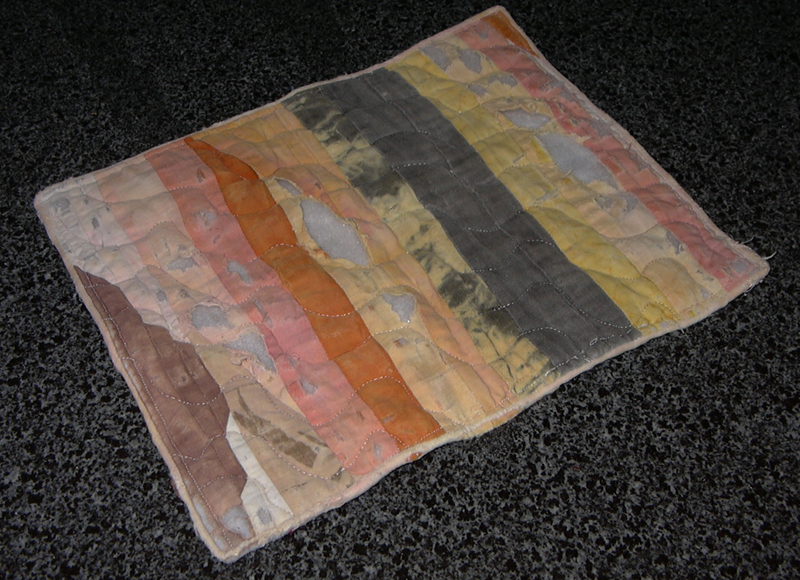
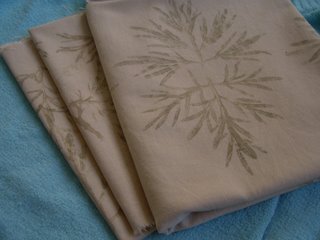
 I had a fun day earlier in the week, doing some leaf whapping. What do you think of this fabric? I rather like it, it has a lovely antique look about it. My convoluted logic for doing this is because I've been spending time wandering through the very fabulous embroidery stitch section 100 Details in 100 Days and also the Stitch Dictionary on the Blog "In A Minute Ago". You see, I like to try out embroidery stitches, but I can never think what to try them on. I don't want to do them on scrap fabric cos that just seems a waste, so I was looking for a cushion sized piece of fabric that could just hang around so I could gaily gather it up and doodle on with different embroidery stitches and beading. Does this make sense or am I completely insane? :-)
Anyway, I thought I'd photograph the leaf whapping process and document it. I must say that I'm no expert at natural dyeing so have no idea if what I do ends up being colourfast over the years, but the whapped fabric I did 5 years ago that has had numerous washes is still going strong so I guess it's not a bad method.
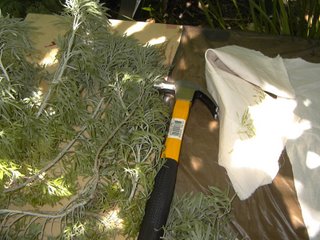
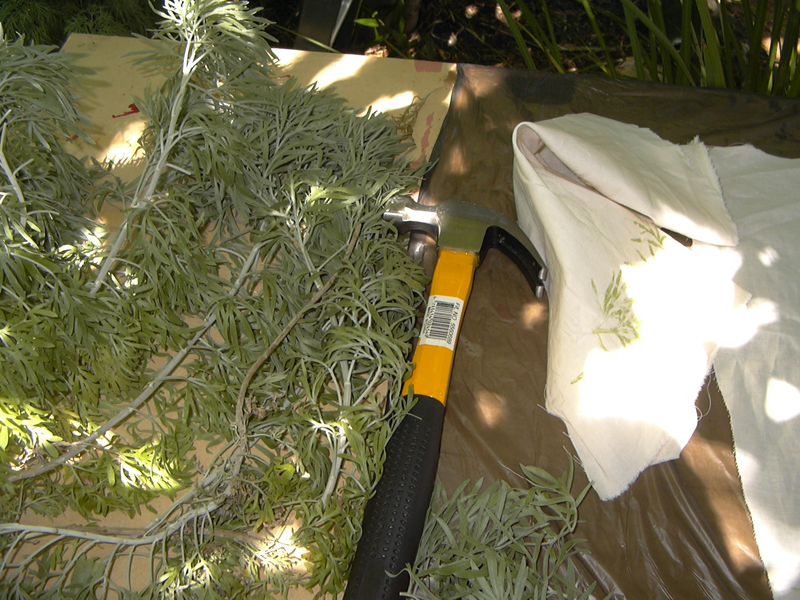
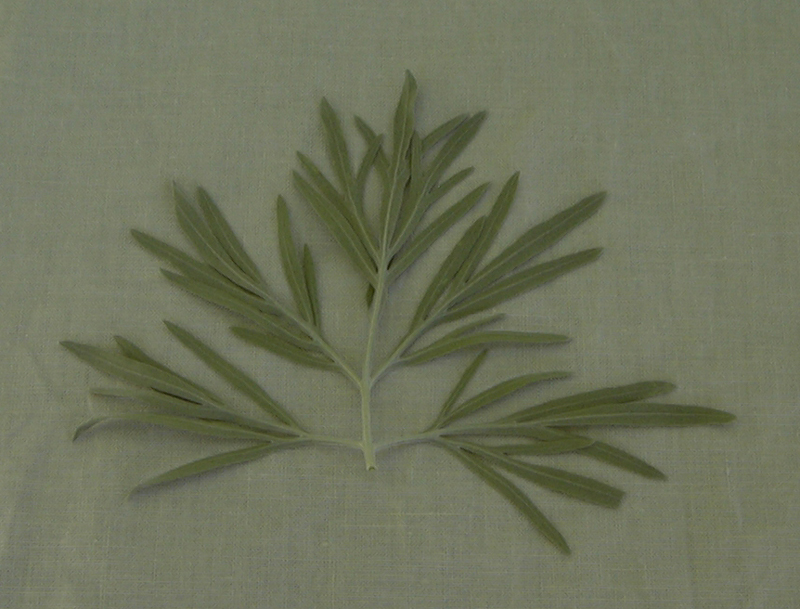
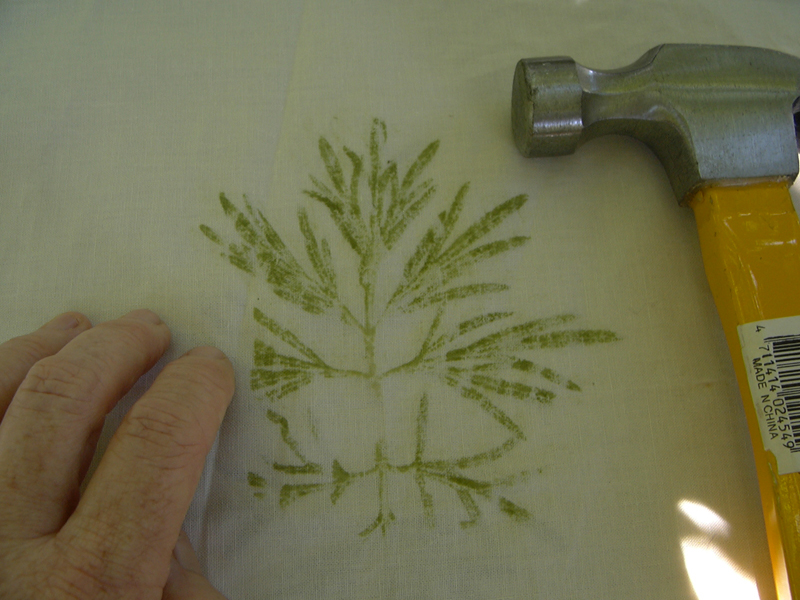
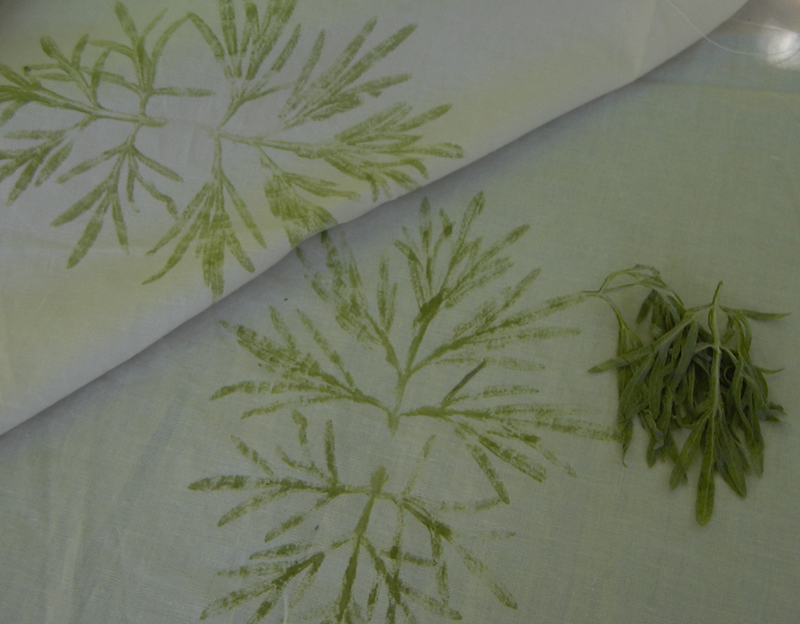
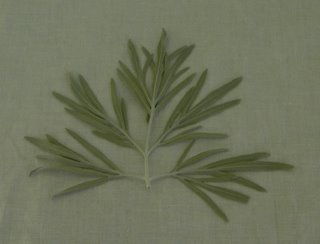 Basically, what you do is put leaves between two pieces of prewashed 100% cotton fabric and whack it with a hammer to release the juices onto the fabric. Then you soak the fabric in a mordant to set the print - I use a strong tea solution. I used cream homespun fabric and I've also done this on calico (muslin) in the past. As far as which leaves to use, it's a case of trial and error. Generally, flat, thin leaves work best. This particular plant is called Wormwood (Artemesia) and I've found this the best leaf to print with. It has a lovely feathery shape, isn't too mushy when whapped, and the prints are clear.
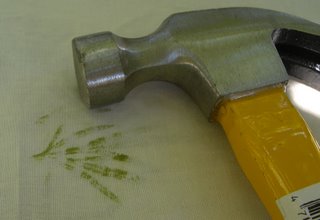
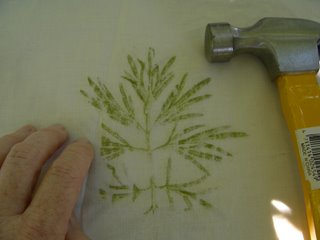 Anyway, spread a piece of fabric on a flat surface (I used a big wooden board), then position your leaf right side down, cover with the piece of fabric you are printing and start hammering. You learn as you go along just how hard to hit, I would say it's probably firm tapping for some plants to hard work hammering for others. I find you need to use a metal hammer, a rubber mallet doesn't seem to work very well. You'll start to see the leaf design coming through onto the fabric so continue tapping/whapping until you are satisfied. If you are using a leaf type that is too moist you'll find that the print is just a blobby mess, so have a bit of fun experimenting with different leaves and flowers. Edit: another thought - closer weave fabric works better - if you use a very open weave fabric then the moister prints tend to smudge more.
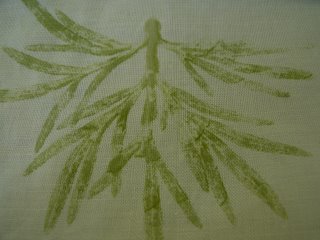
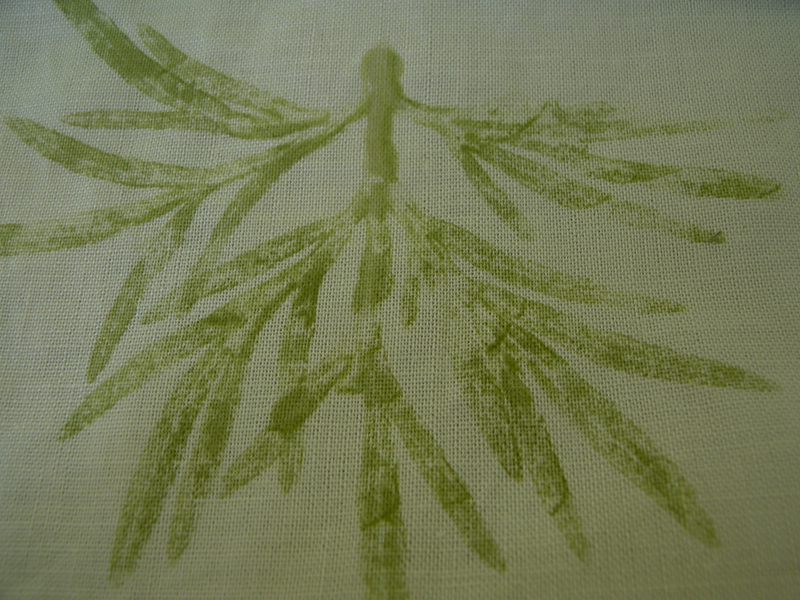
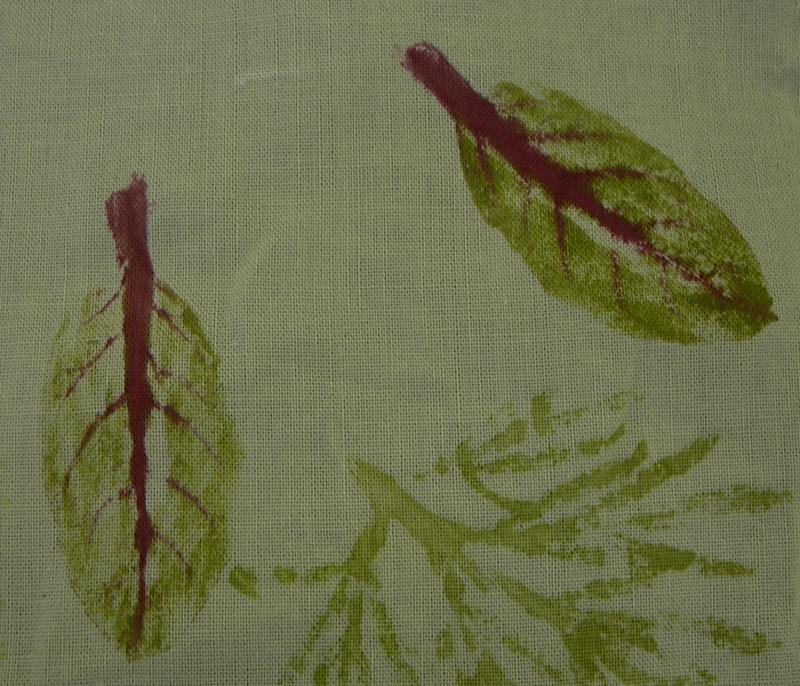
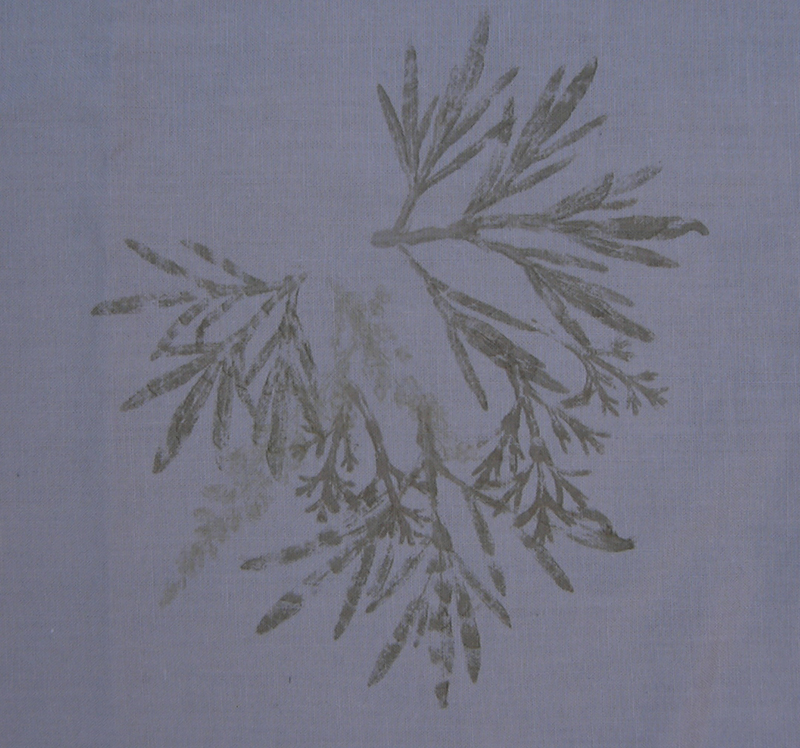
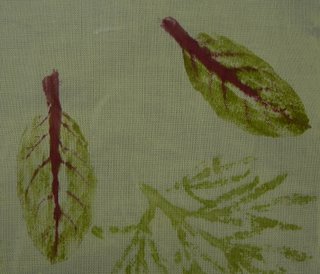
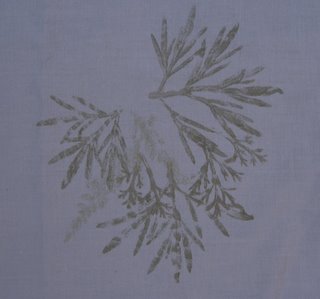
This is a close-up shot of a Wormwood whapping. And below shows what happens if you whap a beetroot leaf. This leaf is a bit juicy but if you whap carefully sometimes you can get a print that is not just a blob. Unfortunately that lovely red stem colour doesn't stay that way, it ends up light brown like all the other prints.
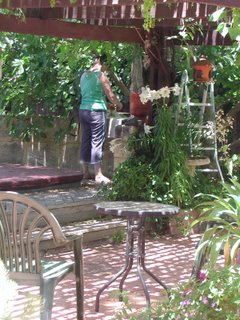
Whapper At Work
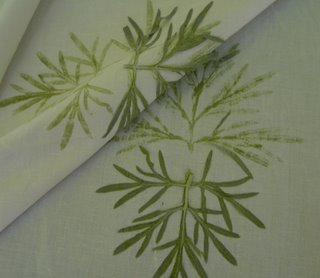
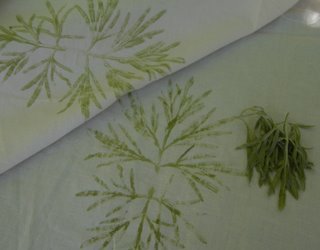
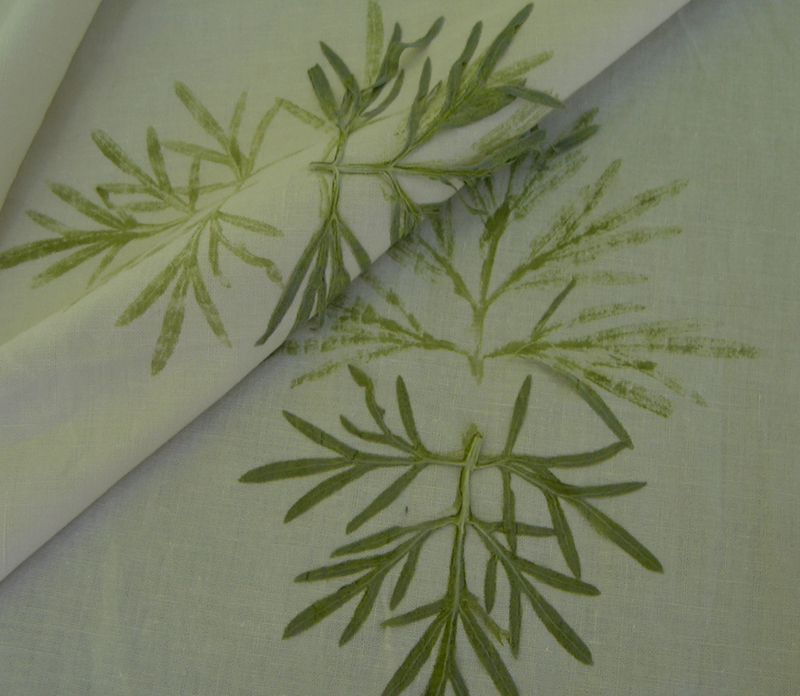
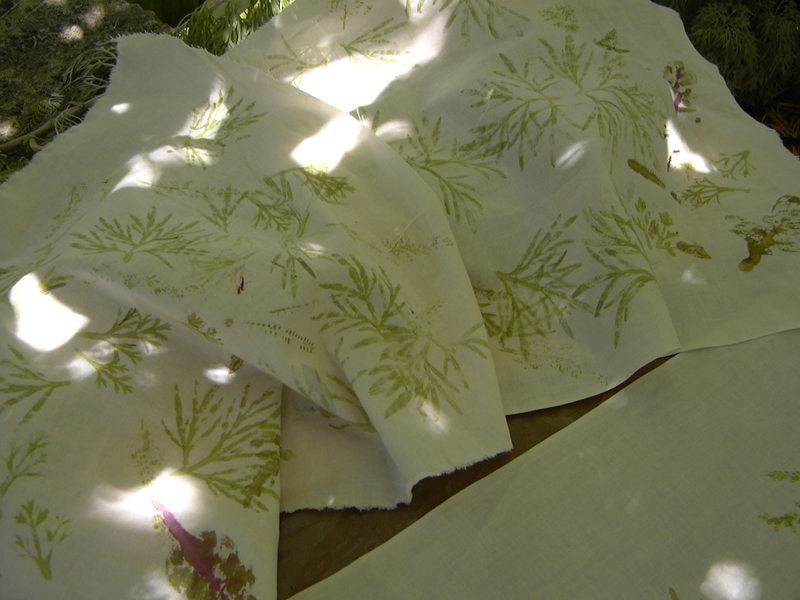
Here you can see when the top fabric is lifted back. The whapped leaves are still attached to the fabric - just peel them off and discard. See how you get a bonus piece of printed fabric on the bottom? This piece of fabric ends with with random prints all over it as it's just your base piece, but it turns out quite pretty just the same.
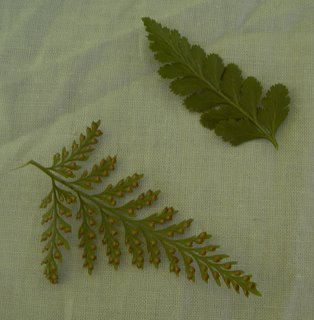
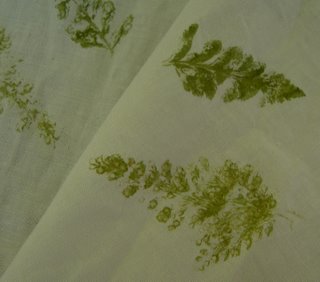
Ferns can produce a nice print although I find that the print doesn't set quite as well and fades a lot. Perhaps if I read up on different solutions to soak the fabric in (such as alum and iron sulfate) there may well be a way to fix this. But I wanted to keep it simple today and just use tea as it's sitting in the cupboard and was easy peasy.

Ok, that's the whapping part finished. Now's a good time to wash your hands, to get all the leaf goo off - keep in mind that you may have been handling poisonous leaves so wash well ok.
Phew, I'm pooped, time for a cuppa. "
Meshell, would you like one too?" Can you guess which mug is mine? ;-)

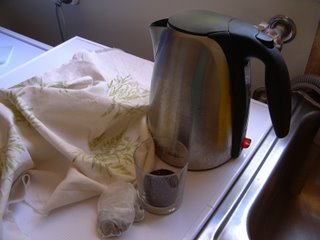
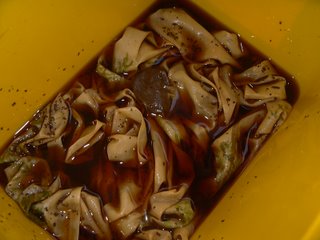
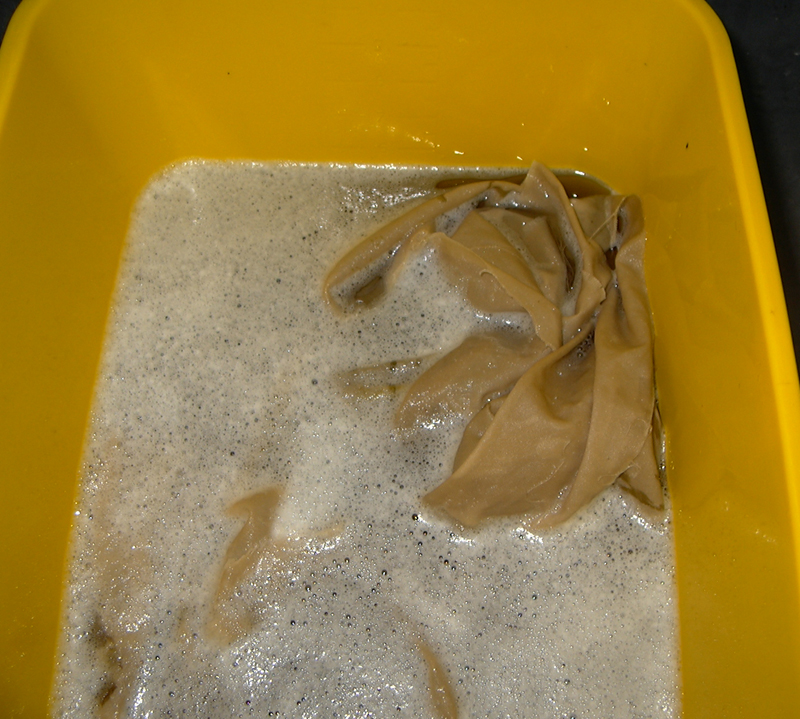
While you're making your well earned cuppa, the next step to to prepare your tea solution to soak the fabric. I used about half a cup of tea leaves in 2 litres of boiling water. Brew it up in a bucket for ten minutes, then add the fabric, stirring well. Top up with more water if there isn't enough to keep the fabric constantly wet. Soak in the tea solution for at least 4 hours, stirring periodically. You'll notice the colour of the leaf prints will start to change to a darker green, then to a sort of khaki green.

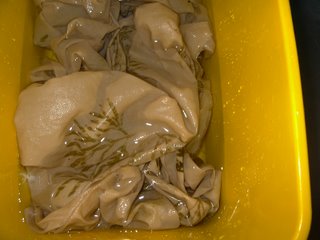
Next step is the rinse. Pour away the tea solution (pot plants love it) then rinse the fabric in cold water. Then wash the fabric in warm, soapy water. Don't panic at how much brown colour washes out into the water, that's normal. Rinse the fabric again in cold water and repeat until water is clear.
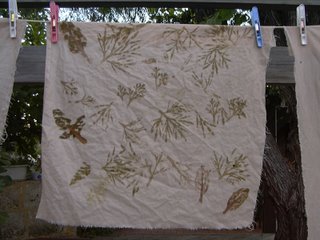
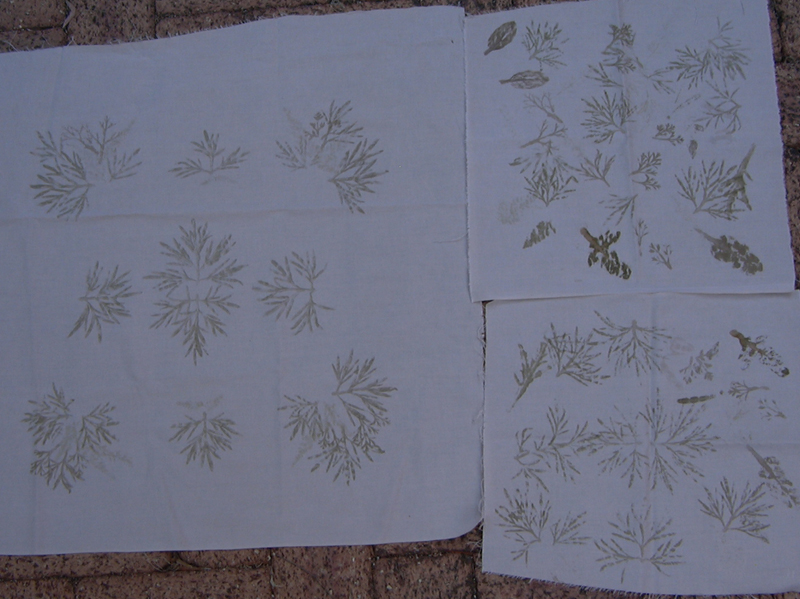
Next, dry the printed fabric. See how the prints have changed colour to a lovely antiquey brown? I think the whole print process has something to do with tannins. When the fabric is dry, give it a good, hot iron. Whether this helps at all with setting the print I don't know, but it sounds good eh. :-)
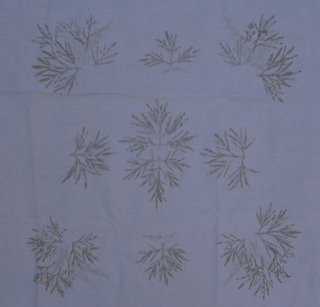
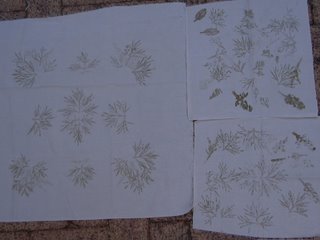
And this is what you end up with, aged looking leaf print fabric. You can either plan the leaf set up, or just go random. And you get bonus fabric from the under sheets that you were laying the leaves on, handy for applique or whatever. It's interesting to see how different leaves print, the faded fern leaves, the blobby prints of fleshier leaves and the lovely lovely wormwood prints which always work out well. I've heard that hydrangea flowers print well but I haven't tried that yet.

 "Come On Baby Light My Fire"